
How To: Do My Own Pest Control
- Jun 12, 2025
- 7 min read
Pest problems at home can feel overwhelming, but calling a professional exterminator isn’t always necessary—or affordable. The good news is, with the right tools, clear instructions, and a little patience, it’s completely possible to handle many common infestations yourself.

DIY pest control not only saves money but gives you more control over the safety of your home, the products you use, and the timing of treatments. From ants to roaches, spiders to rodents, many homeowners are discovering they can be their own pest control technician.
In this expanded guide, we’ll show you exactly how to do your own pest control step by step. We’ll cover identifying pests, selecting the right tools, where and how to apply treatments, how often to follow up, and what to expect during the process.
"DIY pest control can be a cost-effective and immediate solution, but it's important to know what methods work and which ones might not be worth your time." — Moe Meyer, My Pest Pro. Let’s break down the best ways to protect your space and keep pests out for good—without overpaying or giving up control.
This isn’t a product pitch. It’s a practical approach based on real pest behavior and homeowner experience. Whether you live in a city apartment or a rural home, these methods are designed to be easy, safe, and effective for anyone to use.
Step 1: Know What You're Dealing With
The first and most important step is to correctly identify the pest. Is it an insect? A rodent? A seasonal invader like cluster flies or boxelder bugs? Every pest requires a different strategy—spraying spiders won’t work for ants, and ant baits won’t stop roaches.
Start by observing where and when you see the pests. Are they coming out at night? Do you see droppings, webs, trails, or chewed materials? Sticky traps can also be placed around the home to help you identify and track activity patterns.
Knowing your enemy helps you choose the right tools. Our online product descriptions explain which pests each kit targets, giving you a head start on the path to a pest-free home. "In some cases, DIY pest control is an inexpensive and effective way to reclaim your home." — Forbes Home
Use online resources or pest ID guides to match what you’re seeing with common species. You can even consult local extension services for help. Accurate identification will help you choose the right treatment method and avoid wasting money on the wrong products.
Also consider the level of infestation. A single sighting of an ant doesn’t mean you have a colony—but seeing dozens daily does. Likewise, one mouse might indicate a new entry, while frequent droppings and scratching noises suggest a more serious issue.
Step 2: Clean First—It’s More Important Than You Think
A clean home doesn’t guarantee a pest-free environment, but it does make your pest control efforts far more effective. Many pests thrive in cluttered, dirty, or damp environments. A deep clean is your first line of defense.
Start by removing food and water sources. Wipe down counters, vacuum crumbs from baseboards and corners, and don’t leave dirty dishes overnight. Store pantry items in airtight containers and take trash out regularly.
Next, focus on reducing shelter. Move boxes off the floor, organize storage areas, and limit the amount of paper, cardboard, or fabric lying around. These materials are prime nesting spots for everything from roaches to silverfish.
Finally, address moisture. Fix leaky pipes, dry out basements with a dehumidifier, and don’t let water collect in sinks or under potted plants. Many pests are drawn to humid conditions, and even small amounts of water can attract roaches or ants.
Step 3: Choose the Right Tools for the Job
There are many styles of DIY pest control tools available—some better for quick fixes, others for long-term results. Choosing the right format depends on the pest and the level of infestation.
Spray cans and aerosol foggers are easy to use and often found in hardware stores. These can knock down visible pests on contact but don’t offer long-term protection or reach hidden nests.

Hand-pump sprayers or hose-end sprayers allow more control and coverage. These work well for perimeter applications around the outside of your home and can treat large surface areas.
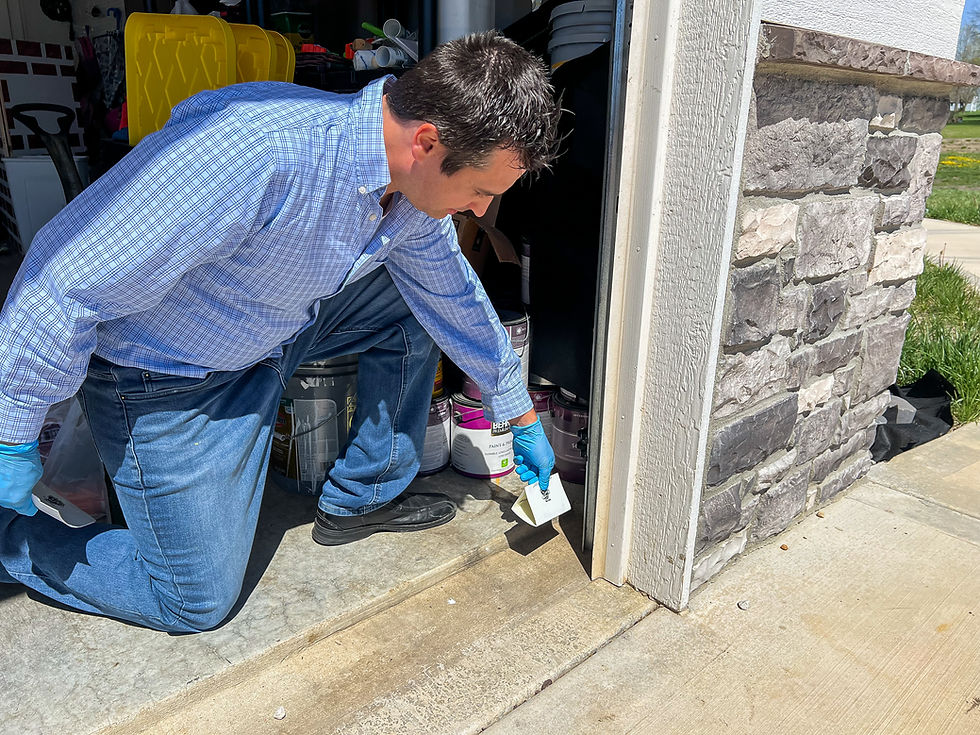
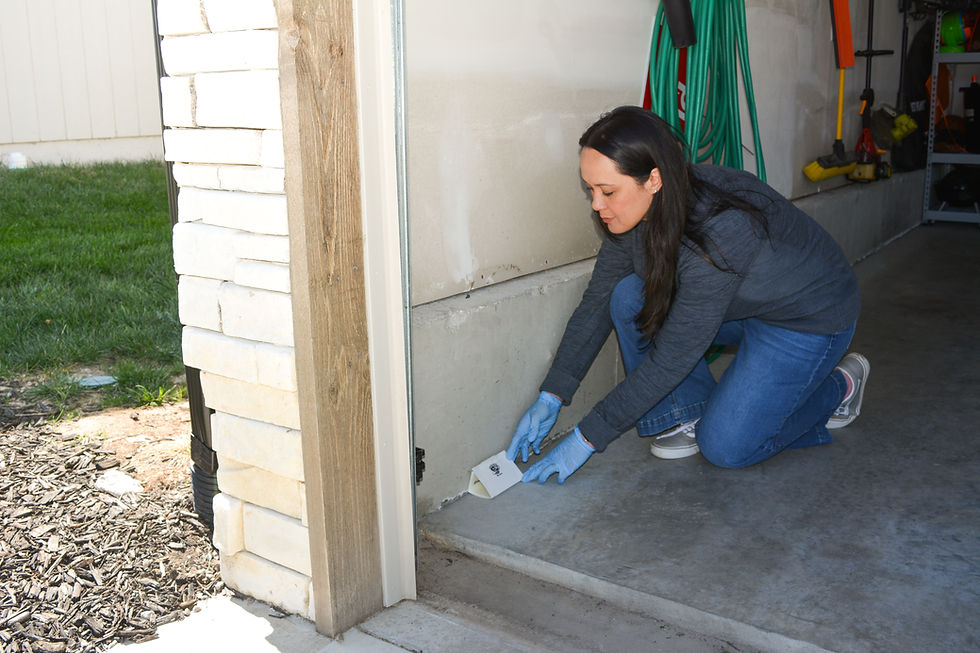
Insecticidal dusts are especially useful in hard-to-reach areas. Dust applied inside wall voids, behind baseboards, or under appliances can stay active for weeks and kills pests gradually—perfect for roaches and spiders.
Bait stations and gels are best for ants, roaches, and rodents. These are designed to attract pests and then spread toxins back to the colony or nest. Bait-based methods take longer to see results, but they’re often the most effective way to eliminate infestations at the source.
Step 4: Apply Products Thoughtfully, Not Excessively
It’s a common mistake to overspray or place too many traps. More isn’t always better. Strategic placement based on pest behavior is much more effective—and safer.
Ants follow scent trails, so place bait along those trails near entry points like door frames, windows, or electrical outlets. For roaches, apply gel bait in cracks and crevices near warm, moist areas like under sinks, behind refrigerators, and along pipes.
For spiders, focus on corners, window sills, ceiling junctions, and garage spaces where webs appear. Insecticidal dust is particularly good for these hiding spots.
Rodents prefer tight spaces along walls and dark corners. Set snap traps or bait boxes where you see droppings or grease marks. Avoid open areas; rodents prefer the cover of clutter.
And remember: don’t spray over bait stations—it can repel pests and make them ineffective. Each method works best when used in isolation, not layered on top of one another.
Step 5: Expect to See More Bugs—At First
One of the most surprising (and discouraging) things we’ve learned doing our own pest control is that activity may spike before it drops. That’s actually a good sign—the treatment is working.
With baits especially, pests often become more active as they seek out and consume the product. You might notice more ants or roaches out in the open within the first few days. Don’t panic.
For ants and roaches, it can take 1–2 weeks for the colony to collapse after baiting begins. Rodents may avoid traps for several days before taking the bait.
Stay patient. Continue to monitor the problem with sticky traps or by checking bait stations regularly. Avoid disrupting treated areas unless a product label advises it.
Step 6: Don’t Forget the Outside of Your Home
Pests don’t start indoors—they come from outside. That’s why a strong exterior barrier is key to long-term prevention.
Use granules or spray formulations to treat the base of your home, focusing on soil, mulch beds, walkways, and foundations. Pay special attention to doors, window sills, dryer vents, and garage entries.
Clear out leaves and debris, trim bushes and trees away from your home, and store firewood at least 20 feet away from the house. These measures remove the habitat pests love to use as launching points.
Depending on the product, perimeter treatments should be reapplied every 4–6 weeks, especially in warmer months when bugs are more active.
Step 7: Monitor Your Progress
The best way to know if your treatment is working is to monitor your results. Sticky traps are an affordable, low-effort way to track pest activity over time.
Place them in discreet locations near areas of concern—under sinks, behind the toilet, in the garage, or behind appliances. Check weekly and replace as needed.
For bait stations or traps, monitor consumption. If bait isn’t being taken, it might be time to adjust the location or switch the bait type.
Take notes on what works and what doesn’t. Every home is different, and keeping track of where, when, and how you treated helps you make more informed decisions going forward.
Step 8: Reinforce and Reapply as Needed
Pest control isn’t always a single-application solution. Egg cycles, seasonal migrations, and environmental changes can all trigger new waves of activity.

Many pests, like roaches or spiders, lay eggs that can hatch weeks after the first treatment. That’s why it’s important to follow up with a second round of treatment 2–4 weeks later, even if things seem under control.
Refill bait stations, re-dust cracks and crevices, and refresh sticky traps. Reapply exterior sprays after heavy rain, which can wash away the protective layer.
This schedule may feel like extra work, but it’s the key to complete and lasting control—especially when dealing with stubborn or fast-reproducing pests.
Step 9: Combine Prevention with Ongoing Maintenance
Once you’ve brought the infestation under control, shift your focus to keeping pests out. Prevention is your most cost-effective long-term strategy.
Clean regularly, especially in kitchens, bathrooms, and laundry rooms. Don’t leave pet food out overnight. Store bulk food in containers, not bags. Sweep and vacuum to remove crumbs and food debris.
Seal new entry points as you find them. Foam sealants, steel mesh, and silicone caulk can be used to block pests from sneaking in through cracks, vents, or utility lines.
Set a recurring calendar reminder to inspect and treat problem areas every few months, even if you don’t see active pests. A proactive approach stops problems before they start.
Final Thoughts: How to Do My Own Pest Control
Doing your own pest control isn’t just about saving money—it’s about knowing your home and taking charge of your environment. With basic knowledge, some patience, and a willingness to learn, you can handle most pest problems effectively and safely.

The key is being thoughtful: clean first, choose the right tools, place them strategically, and follow up. Don’t expect instant results, and don’t get discouraged if things look worse before they get better.
There are many effective DIY pest control methods—sprays, baits, traps, and dusts—all designed to make this job manageable for regular people. Whether you prefer simple off-the-shelf sprays or full kits with everything included, the power is in your hands.
Pest control isn’t just something you buy—it’s something you do. And now, you know how to do it right.
Ready to do your own pest control? Visit our website to explore our pest-specific kits and experience pest control on your terms.


Comments